GuideSpooler Lite
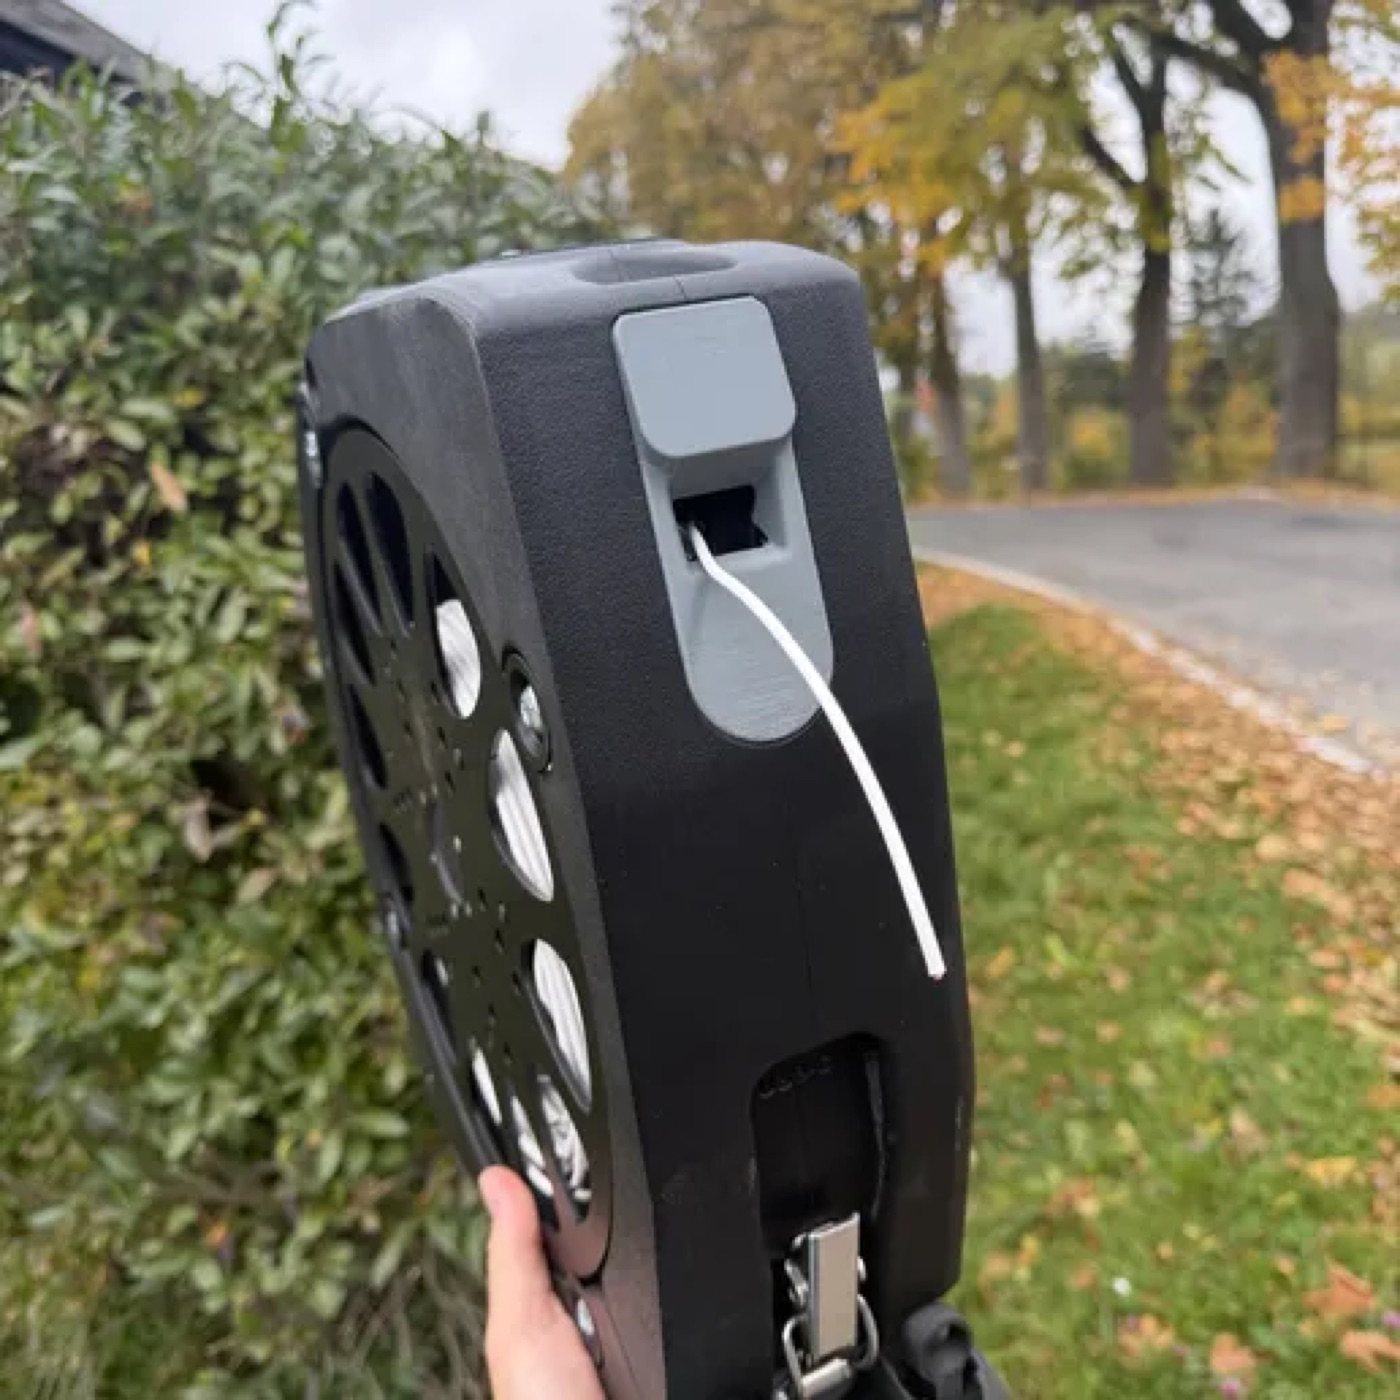
Spooler measures and dispenses cable and suits electricians in the field. Spooler Lite has no display and no sensor, the cable simply unwinds from the spool. You print most of the parts; the rest are turned and laser-cut parts, threaded inserts and bought components such as screws and washers. You can buy the turned and laser-cut parts in the e-shop.
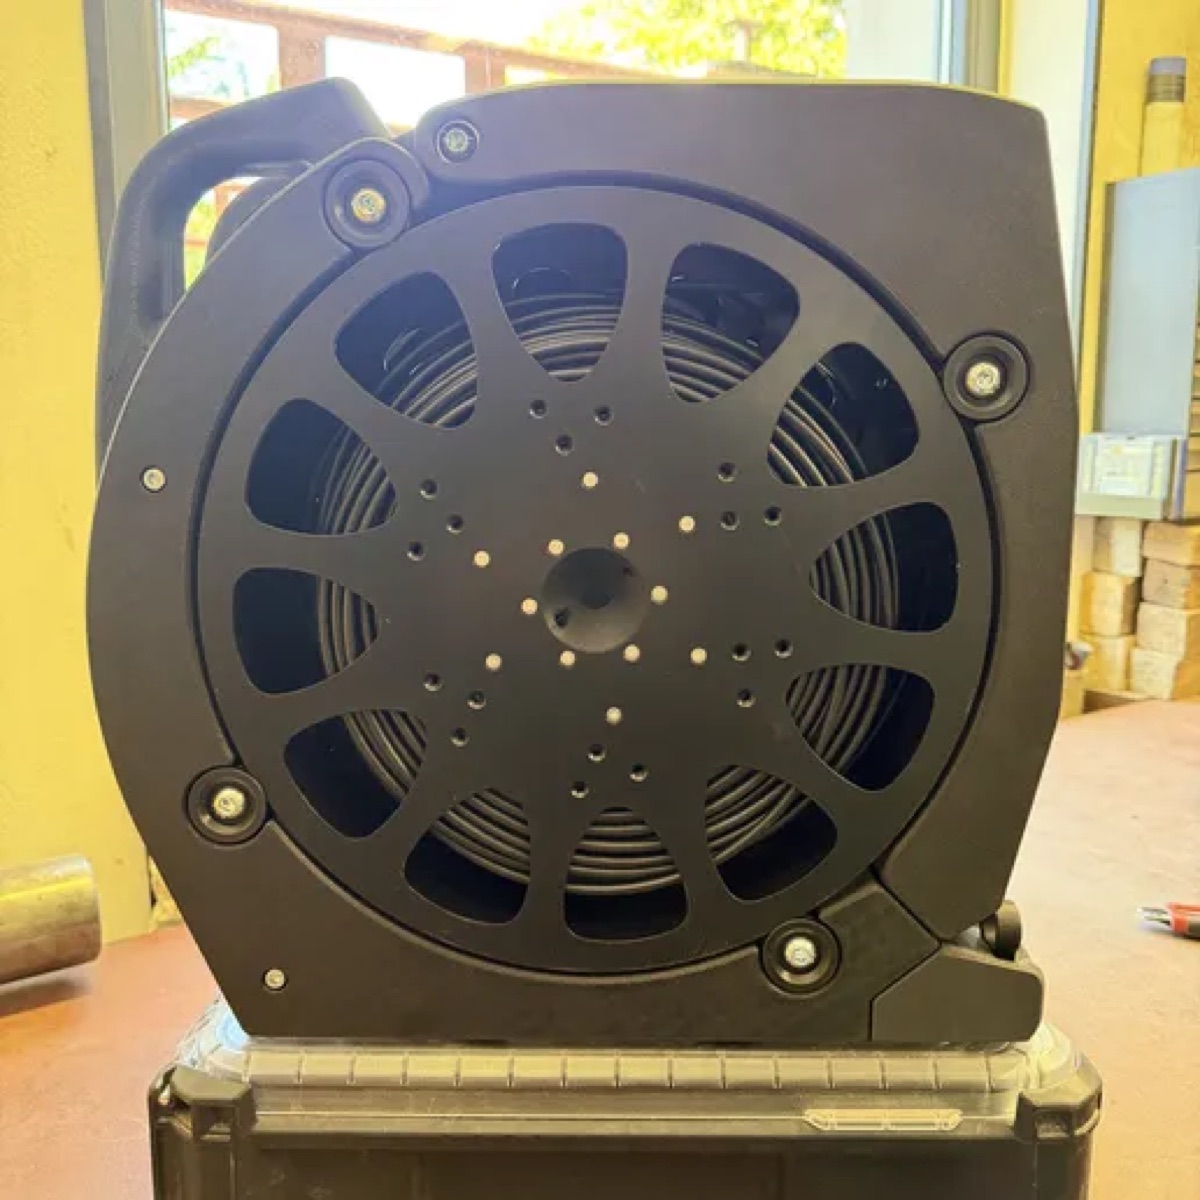
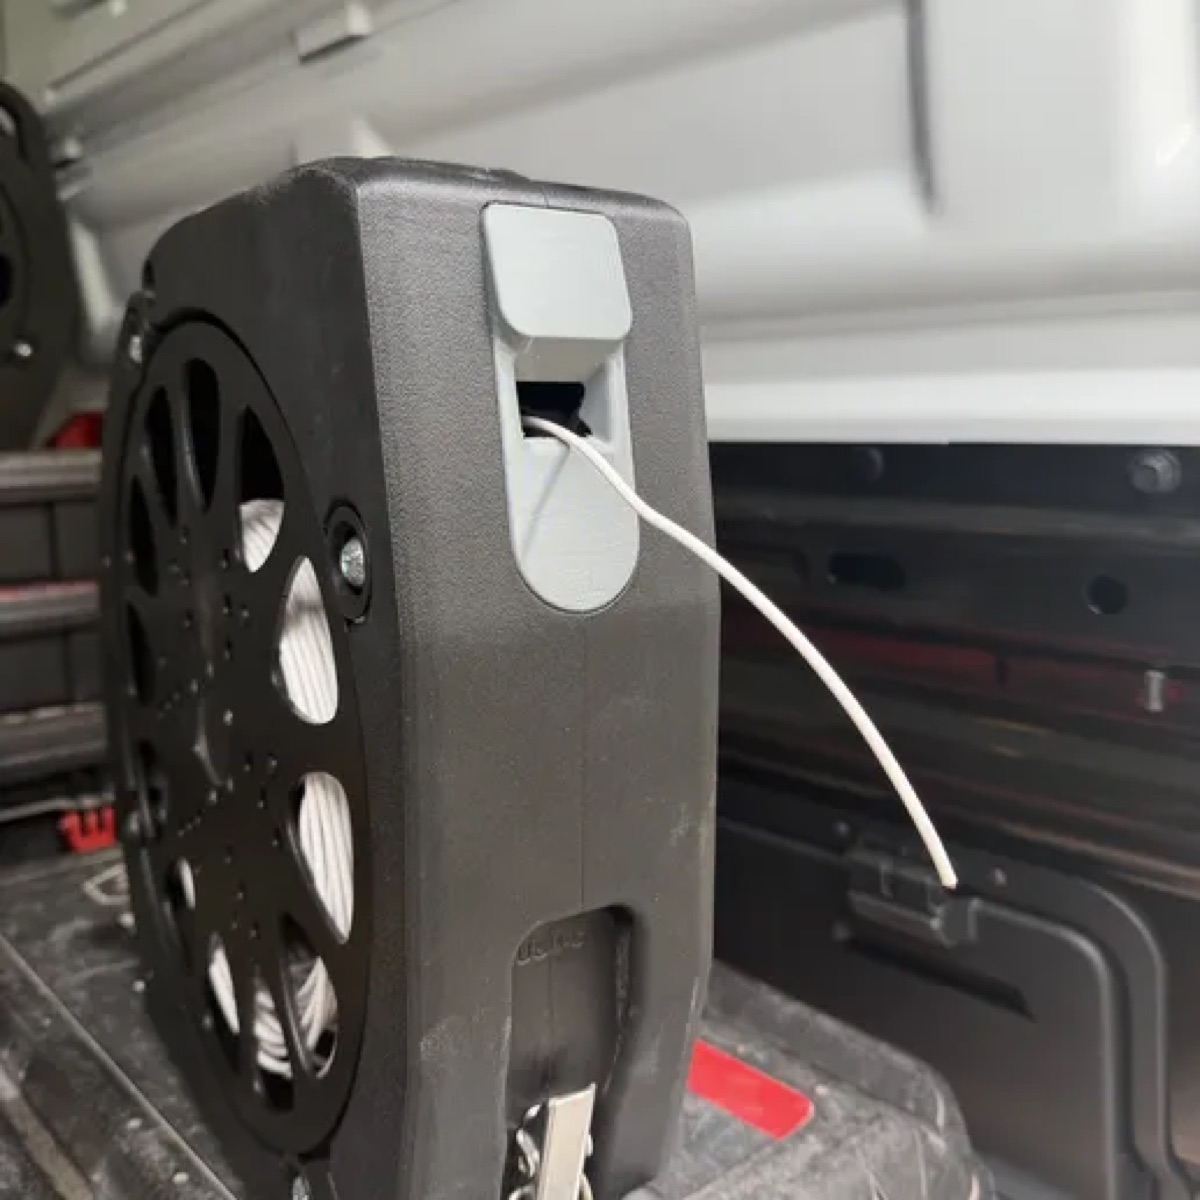
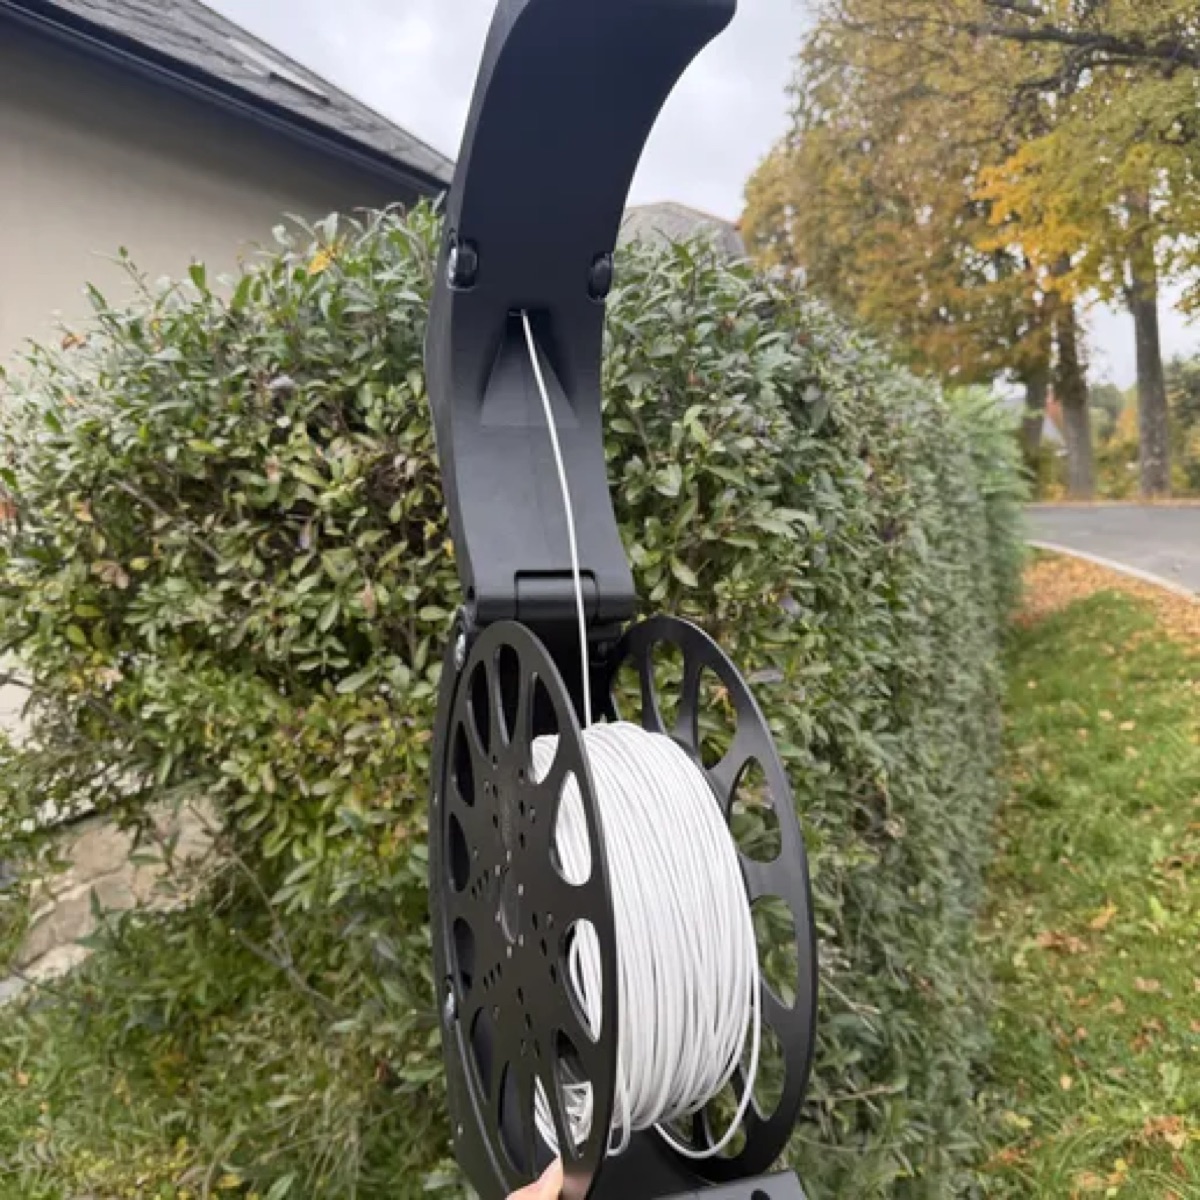
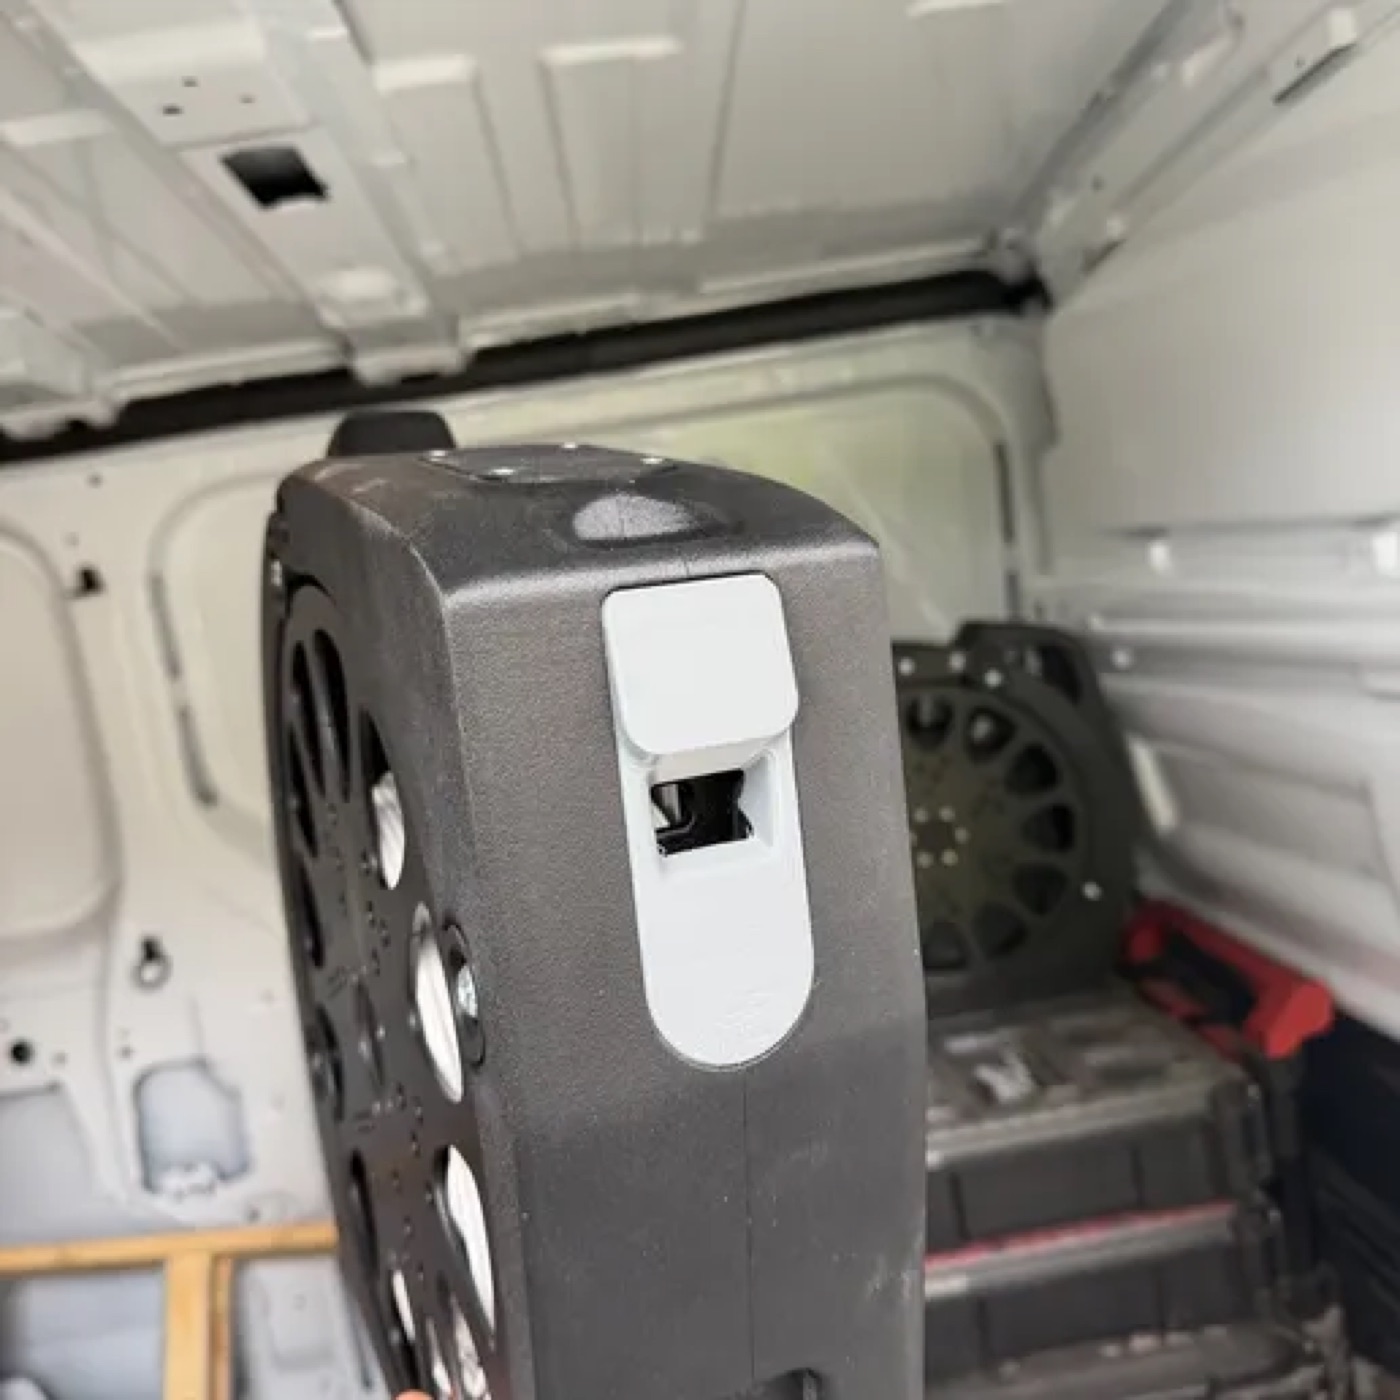
Here is an overview of the parts you need to make. Almost all of them are printed; the rollers and the axis are turned. For smaller printers the model is split with dovetail joints and is made for a 256x256 mm print bed. You can print in ASA-CF or in material of the Spectrum brand.
The parts of the spool are in the spool guide.
All STL models (ZIP) (2.9 MB) ·
Body
| Part | Made by | Note |
|---|---|---|
| 02-01-030d-BASE-LEFT | 3D print | |
| 02-01-031d-BASE-RIGHT | 3D print | |
| arm left | 3D print | left arm, Spooler Lite |
| arm right | 3D print | right arm, Spooler Lite |
| 02-01-035d-BASE-FRONT | 3D print | |
| 02-01-040-Milwaukee_Packout | 3D print | Packout holder |
| 02-01-041-RYGL-L | 3D print | |
| 02-01-061-CLIP_BASE-M4-assy | 3D print | latch base |
Encoder head
| Part | Made by | Note |
|---|---|---|
| 02-00-205-ENCODER-base without electronic | 3D print | base the cable passes through |
| Spring holder cap | 3D print | head cap |
Rollers
| Part | Made by | Note |
|---|---|---|
| 02-01-020a-ROLL | lathe | nylon, or printed |
| 02-01-021-AXIS M8x15 | lathe | axis, aluminium |
Threaded inserts
Most joints use plastic threaded inserts (M3, M4, M5, M6). Press them in before you screw the parts together, always into the part named in the drawing next to the insert. The numbers are given with each assembly in its guide. The inserts are heat-set with a soldering iron with a flat tip: place the insert on the hole, press it slowly into the part with the heated tip until it is flush, and let it cool before you load the part.
Next you build the head, the rollers and the body. What to buy and where is in the last chapter.